Emergency Heat Pump Repair Options for Your Home: Fast, Reliable 24/7 Service in San Diego

A heat pump emergency is any sudden loss of heating or cooling that threatens comfort, safety, or causes clear system damage, and it demands fast, decisive action to restore home climate control. This article explains how to recognize emergency signs for a heat pump, safe DIY checks you can perform, common mechanical failures and their emergency fixes, and clear cost and repair-vs-replace guidance tailored to San Diego and Poway microclimates. You’ll get step-by-step troubleshooting, symptom-to-cause mappings, and transparent cost ranges so you can act quickly while avoiding unsafe DIY work. We also cover preventative maintenance best practices and how solar integration can reduce operating costs and improve resilience. Read on for concise checklists, actionable HowTo steps, three compact comparison tables, and local-focused advice aimed at homeowners who need rapid solutions and clear next steps.
What Are the Signs Your Heat Pump Needs Emergency Repair?
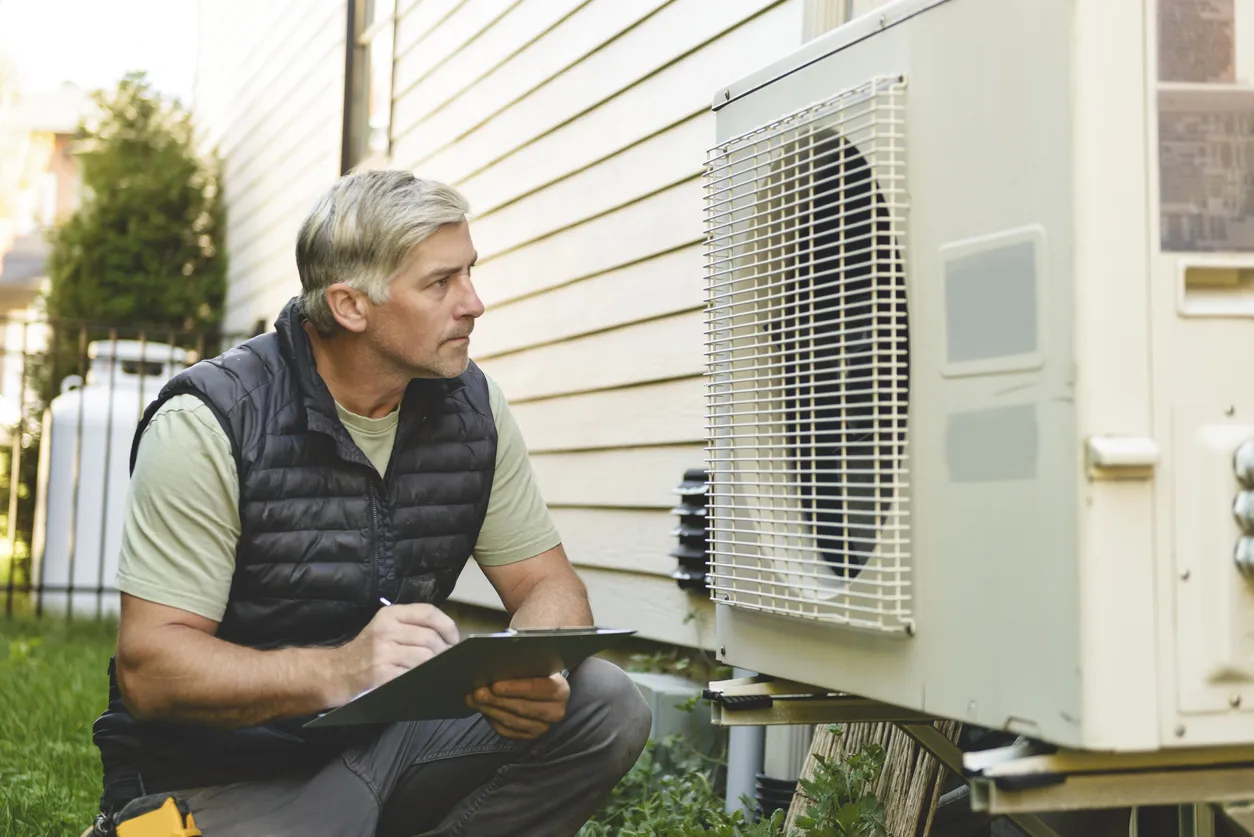
An emergency heat pump condition shows sudden, severe symptoms that indicate the system cannot safely or effectively maintain indoor comfort, often requiring professional intervention. Recognizing these signs early reduces risk of further damage and restores safe operation more quickly. Below is a focused list of urgent signs, each with a short explanation to help you decide whether to act immediately or run quick diagnostics first. After identifying these signs, the next section explains simple, safe checks to confirm electrical and control issues before calling a technician.
Heat pump emergencies commonly include the following urgent signs:
- No heating or cooling while the system is on and the thermostat is set correctly.
- Loud, unusual noises such as grinding, banging, or high-pitched screeches from the outdoor unit.
- Burning or electrical smells near the system or vents that indicate electrical faults.
- Rapid short-cycling where the unit turns on and off repeatedly within minutes.
- Visible leaks around refrigerant lines or ice forming on the outdoor coil in non-freezing conditions.
These warning signs point to problems ranging from electrical failure to refrigerant loss, and the next paragraphs explain how to confirm temperature problems and recognize hazardous noises or smells.
How to Recognize Heat Pump Not Heating or Cooling Properly
A non-performing heat pump fails to meet setpoint temperature despite running, usually caused by airflow restriction, refrigerant imbalance, or compressor issues. To verify, compare thermostat setpoint to room temperature in multiple rooms and check whether supply vents feel warm or cool relative to expectations. In San Diego and Poway climates, mild outdoor temperatures can mask performance loss until demand increases in winter or peak summer, so document temperature delta across rooms to quantify underperformance. If the system runs continuously without reaching setpoint or indoor humidity rises abnormally, these are clear indicators that professional diagnostics are needed. This diagnostic clarity leads naturally to checks homeowners can safely perform before calling for emergency service.
What Noises or Smells Indicate Heat Pump Malfunctions?
Distinct noises and odors map reliably to likely component failures: grinding or metal-on-metal sounds often signal motor or fan failure, while hissing may indicate refrigerant leaks or pressure issues. Electrical popping or burning smells suggest arcing, overheated wiring, or failing control boards and require immediate power-off and a professional inspection. Squealing belts or bearings produce high-pitched tones and point to failed motors or fan bearings that can worsen rapidly. If you detect refrigerant odors—sometimes a faint sweet or chemical scent—avoid prolonged breathing near the unit and contact a technician, since refrigerant handling requires certified professionals. Understanding these symptom-to-cause links prepares you to perform safe initial checks and communicate clearly with a dispatched technician.
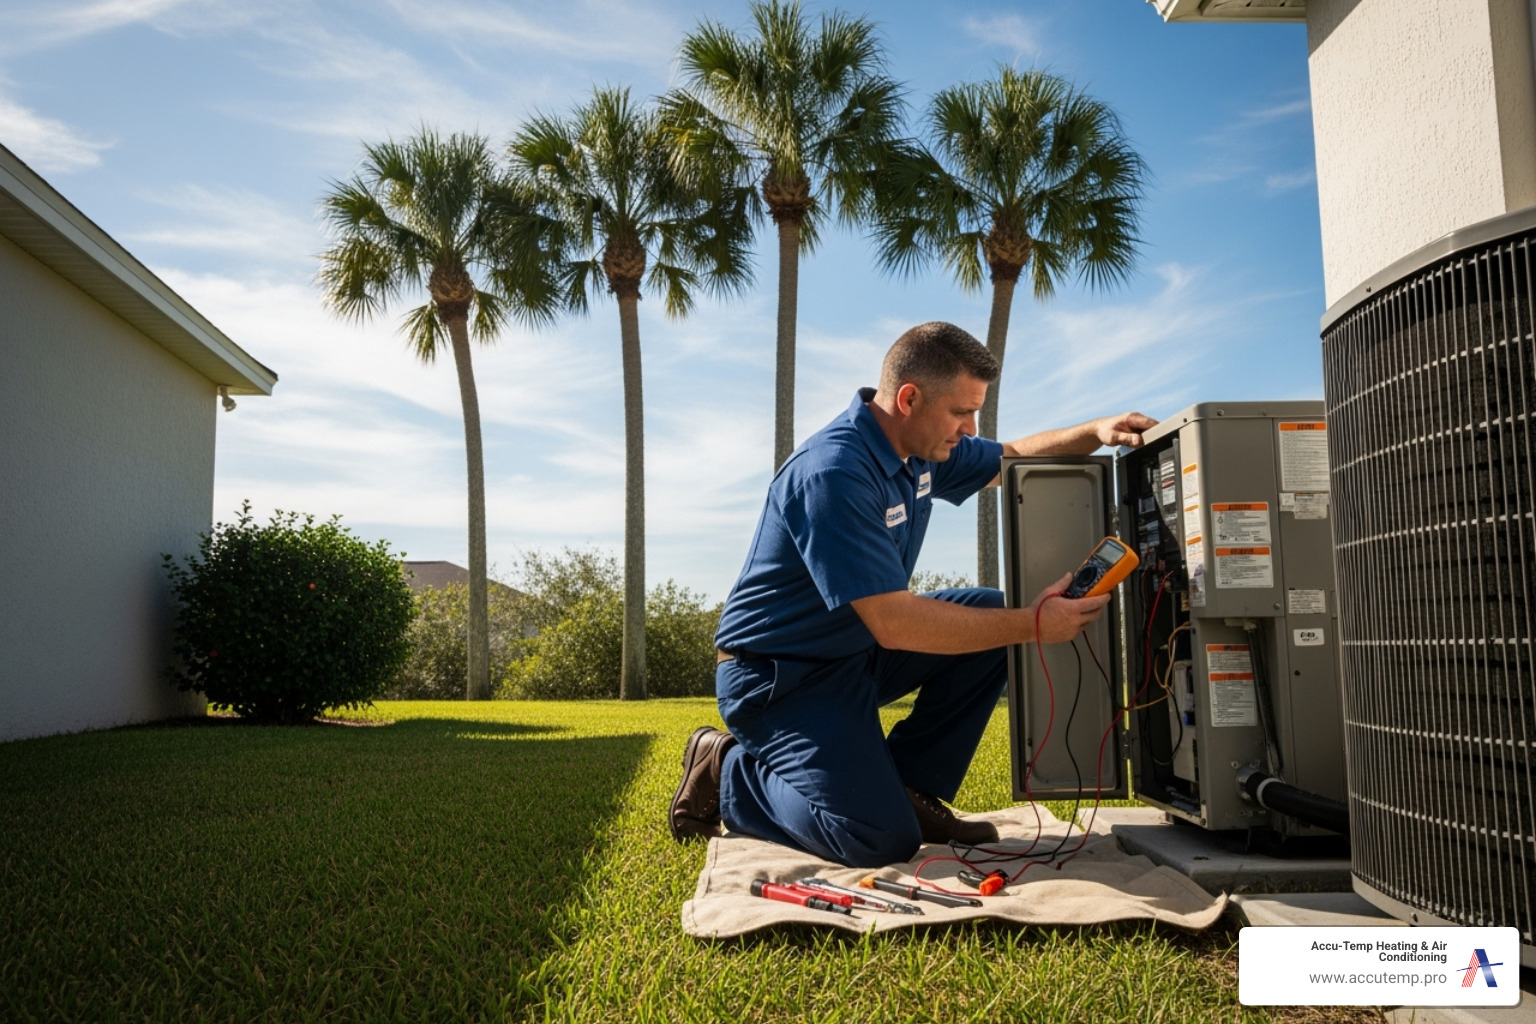
What Can You Do Before Calling for Emergency Heat Pump Service?
Before contacting a technician, perform a set of safe, non-invasive checks that rule out simple failures and provide useful information to a responder. These steps reduce unnecessary service calls and help technicians arrive primed with the right tools and parts. The short HowTo checklist below is arranged in order of simplicity and safety, with estimated time per check and clear indicators of when a problem persists and professional help is required. After these steps, a clear decision guideline explains when to stop DIY work and call a pro.
Do these basic diagnostic checks first:
- Check thermostat settings and replace batteries if the display is dim; confirm system mode (heat/cool/auto) and setpoint.
- Inspect the breaker panel for tripped breakers or blown fuses associated with HVAC circuits and reset only if safe.
- Examine and, if necessary, replace dirty filters and ensure vents are open to restore airflow.
- Visually inspect the outdoor unit for significant debris, vegetation blocking airflow, or obvious ice accumulation.
- Listen for abnormal sounds during startup and note exact behaviors (no start, hum then click, loud bang).
Completing these checks gives clear data for the technician and reduces time-to-repair; the next section explains heating maintenance thresholds and when to stop DIY diagnostics.
Which DIY Checks Help Diagnose Heat Pump Problems?
Simple, safe checks typically identify control and airflow problems that mimic more serious failures and take about 5–20 minutes each. Start with the thermostat: verify correct mode and setpoint, perform a reset, and replace batteries to rule out display or scheduling errors. Next, inspect the indoor air filter and replace it if clogged; restricted airflow often causes temperature issues and frozen coils. Finally, check the breaker panel for tripped breakers and reset them only once—if a breaker trips again, do not repeatedly reset it; that indicates a persistent electrical fault that needs professional attention. These checks narrow down likely causes and provide technicians with actionable observations, which speeds emergency repair.
When Should You Stop DIY and Call a Professional?
Stop DIY troubleshooting immediately if you encounter electrical smells, visible arcing, refrigerant odors, or compressed-gas leaks, because these conditions present safety hazards and require certified handling. Also stop if the outdoor unit shows oil stains near service valves, the compressor emits loud knocking, or the system repeatedly trips breakers after reset. If simple checks (filter, thermostat, breaker) do not restore basic operation within one short session, arrange professional service—continued tinkering can worsen damage. Calling a trained technician at this point preserves safety and prevents escalation, and the next section outlines the common mechanical failures they address.
What Are the Most Common Heat Pump Problems and Their Emergency Fixes?
Common emergency failures include refrigerant leaks, compressor faults, and frozen outdoor coils; technicians perform targeted emergency fixes to restore operation quickly while scheduling permanent repairs if needed. Understanding typical temporary and permanent fixes helps homeowners decide whether an on-the-spot repair is sufficient or replacement planning is needed. The table below summarizes frequent issues, key symptoms, and the emergency measures technicians commonly use to stabilize systems before detailed diagnostics or major replacements. After the table, we explore each issue in actionable terms.
Different heat pump emergencies, their symptoms, and immediate technician interventions:
| Problem | Typical Symptom | Emergency Fix |
|---|---|---|
| Refrigerant leak | Loss of cooling/heating, hissing, oil traces | Isolate leak area, recover refrigerant, apply temporary seal, recharge to safe level |
| Compressor failure | Loud knocking, no compressor start, high amperage | Replace start/run components temporarily; isolate compressor electrically and run auxiliary heating if available |
| Frozen outdoor coils | Ice buildup on outdoor unit, low airflow | Turn off outdoor unit, thaw coils safely, restore airflow and run forced defrost cycle |
| Electrical/control faults | Burning smells, erratic cycling, repeated breaker trips | Cut power, replace/secure wiring or control board temporarily, reset safely |
| Fan/motor failure | Grinding noise, unit not moving air | Replace capacitor or motor temporarily, clear obstruction, run on limited operation |
How to Detect and Repair Refrigerant Leaks in Heat Pumps
Refrigerant leaks reduce system capacity and can cause icing or higher compressor stress; detection requires proper tools and certified handling due to environmental and safety regulations. Homeowners can spot signs—bubbles or oil at fittings, reduced temperature delta across the coil, and hissing sounds—but should avoid attempting repairs that involve refrigerant. Technicians use electronic leak detectors and pressure testing to locate leaks, then employ brazing or authorized sealants, evacuate and recharge the system with correct refrigerant type and charge. Emergency measures may include a temporary recharge to restore heat while scheduling permanent leak repair; ensuring legality and safety, the technician will document the service and recommend follow-up.
What Causes Compressor Failures and How Are They Fixed?
Compressors fail from electrical faults, overheating, lubrication loss, or internal mechanical wear; symptoms include high current draw, loud knocking, or complete failure to start. Emergency technician actions include testing start and run capacitors, replacing failed capacitors or contactors, and checking oil and pressure balance to enable temporary operation. If the compressor is internally damaged, replacement is the long-term solution; technicians may install a replacement compressor or recommend system replacement depending on age and cost. Short-term fixes aim to protect the system and restore partial operation while assessing whether full compressor replacement is warranted.
How to Address Frozen Heat Pump Coils and Defrost Cycle Issues
Frozen outdoor coils often stem from restricted airflow, low refrigerant, or a failing defrost control; immediate homeowner action is to turn the system off to prevent compressor damage and allow safe thawing. Technicians diagnose by checking airflow path, refrigerant charge, and defrost control sensors; emergency fixes include manual defrosting and resetting defrost controls, replacing sensors, or initiating a forced-defrost cycle. Restoring airflow—cleaning filters and clearing outdoor obstructions—is essential to prevent recurrence. Once thawed and stabilized, a technician will verify refrigerant balance and defrost cycle operation to prevent repeat emergencies.
When Should You Repair vs. Replace Your Heat Pump?

Deciding to repair or replace depends on system age, frequency and cost of recent major repairs, efficiency losses, and long-term ownership plans; a structured decision table helps convert these attributes into a clear recommendation. Short-term emergency fixes can be cost-effective for newer systems with high remaining life, while older units with repeated major repairs often justify replacement for reliability and efficiency gains. Below is a decision-oriented table mapping common indicators to recommended action; the following paragraphs provide lifespan thresholds and benefits of a new system to support the decision process.
| Decision Factor | What to Check | Recommendation Indicator |
|---|---|---|
| System age | Years since installation (air-source, ductless, geothermal) | Replace if >12–15 years for air-source; shorter if frequent major repairs |
| Repair frequency | Number of major repairs in past 3 years | Replace if 2+ major repairs totaling >50% of replacement value |
| Repair cost | Cost of current repair vs replacement amortized | Repair if single repair <30% of replacement cost; otherwise consider replace |
| Efficiency loss | Drop in SEER/HSPF and rising bills | Replace to regain efficiency if savings justify payback period |
This framework translates technical attributes into a practical homeowner decision; the next subsections give examples and benefits to quantify the choice.
How to Evaluate Heat Pump Age and Repair Frequency
Typical lifespans vary by type: air-source systems commonly last 12–15 years, ductless mini-splits often last similar spans with fewer mechanical wear issues, and geothermal systems can last 20+ years. Track major repair history and calculate cumulative repair expense; if cumulative major repairs approach or exceed half the replacement cost, replacement is often more economical. Performance decline, increased energy bills, and frequent service calls are measurable signs that the system’s remaining useful life is limited. Using these metrics lets homeowners make a financially sound decision about emergency repair authorization or replacement planning.
What Are the Benefits of Installing a New Heat Pump?
A new heat pump delivers improved efficiency, reduced emergency incidents, and modern features like variable-speed compressors and smart controls that improve comfort and lower operating costs. Efficiency gains (higher SEER and HSPF ratings) translate into measurable energy savings, especially when paired with smart thermostats or solar offsets. New systems often come with improved warranties and lower maintenance needs, decreasing future emergency repair risk. These benefits factor into the repair-vs-replace calculation by reducing long-term ownership costs and improving household comfort and reliability.
| Benefit | Impact | Typical Result |
|---|---|---|
| Higher efficiency | Lower energy bills | 10–30% savings depending on old vs new system |
| Improved reliability | Fewer emergency calls | Reduced downtime and repair cost over time |
| Smart integration | Better control and diagnostics | Faster fault detection and remote management |
These advantages illustrate why replacement can be the best long-term option when repair costs are high or the unit is near end-of-life.
How Can Preventative Maintenance Help Avoid Emergency Heat Pump Repairs?
Regular preventative maintenance reduces the frequency of emergencies by addressing small issues before they escalate and by optimizing system efficiency through seasonal service. A tune-up identifies refrigerant leaks, worn components, and airflow restrictions and can extend system life while lowering energy bills. The checklist below outlines the core maintenance tasks technicians perform and how often to schedule them, helping homeowners verify proper maintenance and reduce emergency calls. After the checklist, we discuss how solar integration further reduces operating cost and improves resilience.
Preventative maintenance typically includes the following core tasks:
- Inspect and replace air filters; verify airflow and clean supply and return registers.
- Test electrical connections, capacitors, contactors, and safety controls for wear or loose connections.
- Measure refrigerant pressures and temperatures to detect leaks or imbalance early.
- Clean evaporator and condenser coils, clear drain lines, and verify defrost control operation.
- Lubricate motors if applicable, verify thermostat calibration, and run a full system performance check.
This checklist ensures technicians address the most common failure modes and sets expectations for what a proper tune-up accomplishes.
Lead and Revenue generation — preventative maintenance contracts and scheduled tune-ups provide predictable service and often include priority scheduling that helps avoid emergency repairs. Comfort Design, Inc. offers maintenance plans emphasizing energy-efficiency tuning and prioritized dispatch to help homeowners minimize emergency risk and manage long-term costs.
What Is Included in a Heat Pump Maintenance Checklist?
A thorough maintenance visit inspects and services every subsystem that commonly causes emergencies: filters and airflow, electrical components, refrigerant charge, coils, and defrost controls. Technicians typically document pressures and temperatures, clean coils, verify thermostats and controls, check for refrigerant leaks, and test the defrost sequence. Most full tune-ups are recommended biannually—one cooling-season and one heating-season check—to align with seasonal load changes and spot issues before peak demand. Keeping records of these visits helps owners and technicians detect performance trends and prevent emergency failures.
Conclusion
Addressing heat pump emergencies promptly ensures your home remains comfortable and safe, while understanding common issues can save you time and money. By recognizing warning signs and performing basic checks, you empower yourself to act decisively and efficiently. For ongoing peace of mind, consider enrolling in a preventative maintenance plan that keeps your system running smoothly year-round. Contact us today to safeguard your home against unexpected heat pump failures.